My team at work recently adopted TypeORM and routing-controllers, and I was immediately drawn to how clean, declarative, and organized the structure felt. It inspired me to revisit a personal project I’d been meaning to overhaul: the website for Four Green Fields Farm.
The old site was built in Laravel and had started to feel dated. I also wanted to take the chance to add features we needed, like recurring events, to handle the farm’s seasonal calendar more effectively.
Let’s walk through how I approached this new API, step by step.
Getting Started
To start fresh, I created a new directory and initialized the project with TypeScript:
mkdir fourgreenfieldsfarm-api
cd fourgreenfieldsfarm-api
npm init -y
1. Install Dependencies
Next, I installed the core packages I knew I’d need - Express, TypeORM, routing-controllers, and a few others to support validation, file uploads, environment variables, and PostgreSQL:
npm install express typeorm pg routing-controllers class-validator class-transformer dotenv reflect-metadata multer csv-parser rrule jsonwebtoken argon2 cors
And the development dependencies:
npm install -D typescript ts-node-dev @types/node @types/express @types/jsonwebtoken @types/multer @types/cors
Why These Packages?
Here’s a quick overview of what each core package adds to the project:
Main Dependencies
express– A fast, unopinionated web framework for building the API.typeorm– Object-relational mapper (ORM) used for database access and migrations.pg– PostgreSQL driver for Node.js, required by TypeORM.routing-controllers– Allows defining routes as TypeScript classes with decorators like@Get()or@Post().class-validator– Lets you add validation rules to request DTOs using decorators (e.g.@IsString(),@IsEmail()).class-transformer– Works withclass-validatorto transform and serialize request/response data.reflect-metadata– Required by TypeORM and routing-controllers to use decorators.dotenv– Loads environment variables from a.envfile intoprocess.env.multer– Middleware for handlingmultipart/form-data, used here for CSV file uploads.csv-parser– Lightweight CSV parser for reading and importing event data.rrule– Recurrence rule parser for generating repeating event dates.jsonwebtoken– Used for handling JWT-based authentication.argon2– Secure password hashing algorithm used in modern authentication flows.cors– Cross-Origin Resource Sharing middleware to control which frontends can access your API.
Dev Dependencies
typescript– Adds static typing to JavaScript, required to write.tsfiles.ts-node-dev– Auto-reloading TypeScript development server.@types/*– TypeScript type declarations for Node.js, Express, JWT, etc. These help your editor catch type errors and provide autocomplete.
These packages together give you a clean, secure, and modern TypeScript backend that’s easy to scale and maintain.
2. Add TypeScript Config
I added a basic tsconfig.json:
{
  "compilerOptions": {
    "target": "ES2020",
    "module": "commonjs",
    "outDir": "./dist",
    "rootDir": "./src",
    "strict": true,
    "esModuleInterop": true,
    "experimentalDecorators": true,
    "emitDecoratorMetadata": true,
    "skipLibCheck": true,
    "baseUrl": "./",
    "paths": {
      "*": ["src/*"]
    }
  },
  "include": ["src/**/*"],
  "exclude": ["node_modules", "dist"]
}
The key settings for TypeORM and routing-controllers are
emitDecoratorMetadataandexperimentalDecorators.
3. Create the Folder Structure
I set up the following structure:
/src
  /controllers
  /entity
  /middleware
  index.ts
  data-source.ts
/scripts
  importEventsFromCsv.ts
This keeps everything modular and organized as the app grows.
4. Environment Variables
I added a .env file for local development:
PORT=3000
DB_HOST=localhost
DB_PORT=5432
DB_USER=youruser
DB_PASS=yourpassword
DB_NAME=fourgreenfieldsfarm
JWT_SECRET=yourjwtsecret
FRONTEND_ORIGIN=http://localhost:3001
NODE_ENV=development
Coming up next: I’ll walk through setting up the data-source.ts, creating an Event entity, and wiring up routing-controllers with authentication and validation.
Setting Up TypeORM
With dependencies installed and the folder structure in place, I set up the database connection using TypeORM's DataSource API. This connection handles everything from querying to migrations.
I created a new file at src/data-source.ts:
// src/data-source.ts
import "reflect-metadata";
import * as dotenv from "dotenv";
dotenv.config();
import { DataSource } from "typeorm";
import { Event } from "./entity/Event";
import { User } from "./entity/User";

export const AppDataSource = new DataSource({
  type: "postgres",
  host: process.env.DB_HOST,
  port: Number(process.env.DB_PORT),
  username: process.env.DB_USER,
  password: process.env.DB_PASS,
  database: process.env.DB_NAME,
  synchronize: false,
  logging: true,
  entities: [Event, User],
  migrations: ["src/migration/**/*.ts"],
});
Notes:
synchronize: false: I prefer using migrations for schema changes instead of auto-sync. I also use it for seeding the database where needed.entities: [Event, User]: These are the TypeORM models (classes with decorators like@Entity) that define your database tables.migrations: Tells TypeORM where to find or generate migration files.
I import this AppDataSource in index.ts to initialize the connection before starting the server (more on that in a sec).
Setting Up index.ts
With the database connection ready, I set up the entry point for the API using src/index.ts. This file:
- Loads environment variables
- Connects to the PostgreSQL database
- Configures CORS
- Uses
routing-controllersto handle routing, validation, and authorization - Starts the Express server
Here’s what my src/index.ts looks like:
import "reflect-metadata";
import { AppDataSource } from "./data-source";
import express from "express";
import * as dotenv from "dotenv";
import cors from "cors";
import { createExpressServer, Action } from "routing-controllers";
import { ContactController } from "./controllers/contact.controller";
import { EventController } from "./controllers/event.controller";
import { EventImportController } from "./controllers/event-import.controller";
import { UserController } from "./controllers/user.controller";
import { ValidationErrorHandler } from "./middleware/ValidationErrorHandler";
import * as jwt from "jsonwebtoken";

dotenv.config();

const app = express();
const isLocal = process.env.NODE_ENV === "development";
const allowedOrigin = isLocal ? "*" : process.env.FRONTEND_URL;

app.use(
  cors({
    origin: allowedOrigin,
    credentials: true,
  })
);
app.use(express.json());

const { PORT = 3000 } = process.env;

console.log("Connecting to DB:", process.env.DB_NAME);

AppDataSource.initialize()
  .then(async () => {
    const app = createExpressServer({
      controllers: [
        ContactController,
        EventController,
        EventImportController,
        UserController,
      ],
      routePrefix: "/api",
      middlewares: [ValidationErrorHandler],
      validation: true,
      defaultErrorHandler: false,
      authorizationChecker: async (action: Action) => {
        const token = action.request.headers["authorization"]?.split(" ")[1];
        if (!token) return false;

        try {
          const payload = jwt.verify(
            token,
            process.env.JWT_SECRET || "your_jwt_secret"
          );
          action.request.user = payload;
          return true;
        } catch {
          return false;
        }
      },
    });
    app.listen(PORT, () => {
      console.log("Server is running on http://localhost:" + PORT);
    });
    console.log("Data Source has been initialized!");
  })
  .catch((error) => console.log(error));
Key Points
- CORS Setup:
Uses the environment variable
FRONTEND_URLin production for allowed origins and*locally for flexibility during local Nuxt development. - Routing-Controllers: The API routes are organized using classes and decorators, making the project clean and scalable.
- Validation:
Enables validation for request bodies automatically using
class-validator. - Custom Error Handling:
Uses a custom
ValidationErrorHandlermiddleware for cleaner error responses. - JWT Authentication:
Protects routes with
@Authorized()decorators using a simple JWT-basedauthorizationChecker. - Environment Management:
All secrets, ports, and database settings are controlled through
.env, ensuring the project is portable between local and cloud environments.
Coming up next: I’ll walk through creating the Event entity, setting up recurring event support, and organizing API routes for event management.
Creating the Event Entity
With the backend connected and ready, I moved on to building the core of the app: the Event entity.
This entity powers the calendar for Four Green Fields Farm, storing event details, tracking recurring events, and supporting filtering for the frontend calendar view.
Why TypeORM Entities?
TypeORM uses classes with decorators to define your database tables, making it clear, organized, and type-safe while staying close to the database structure.
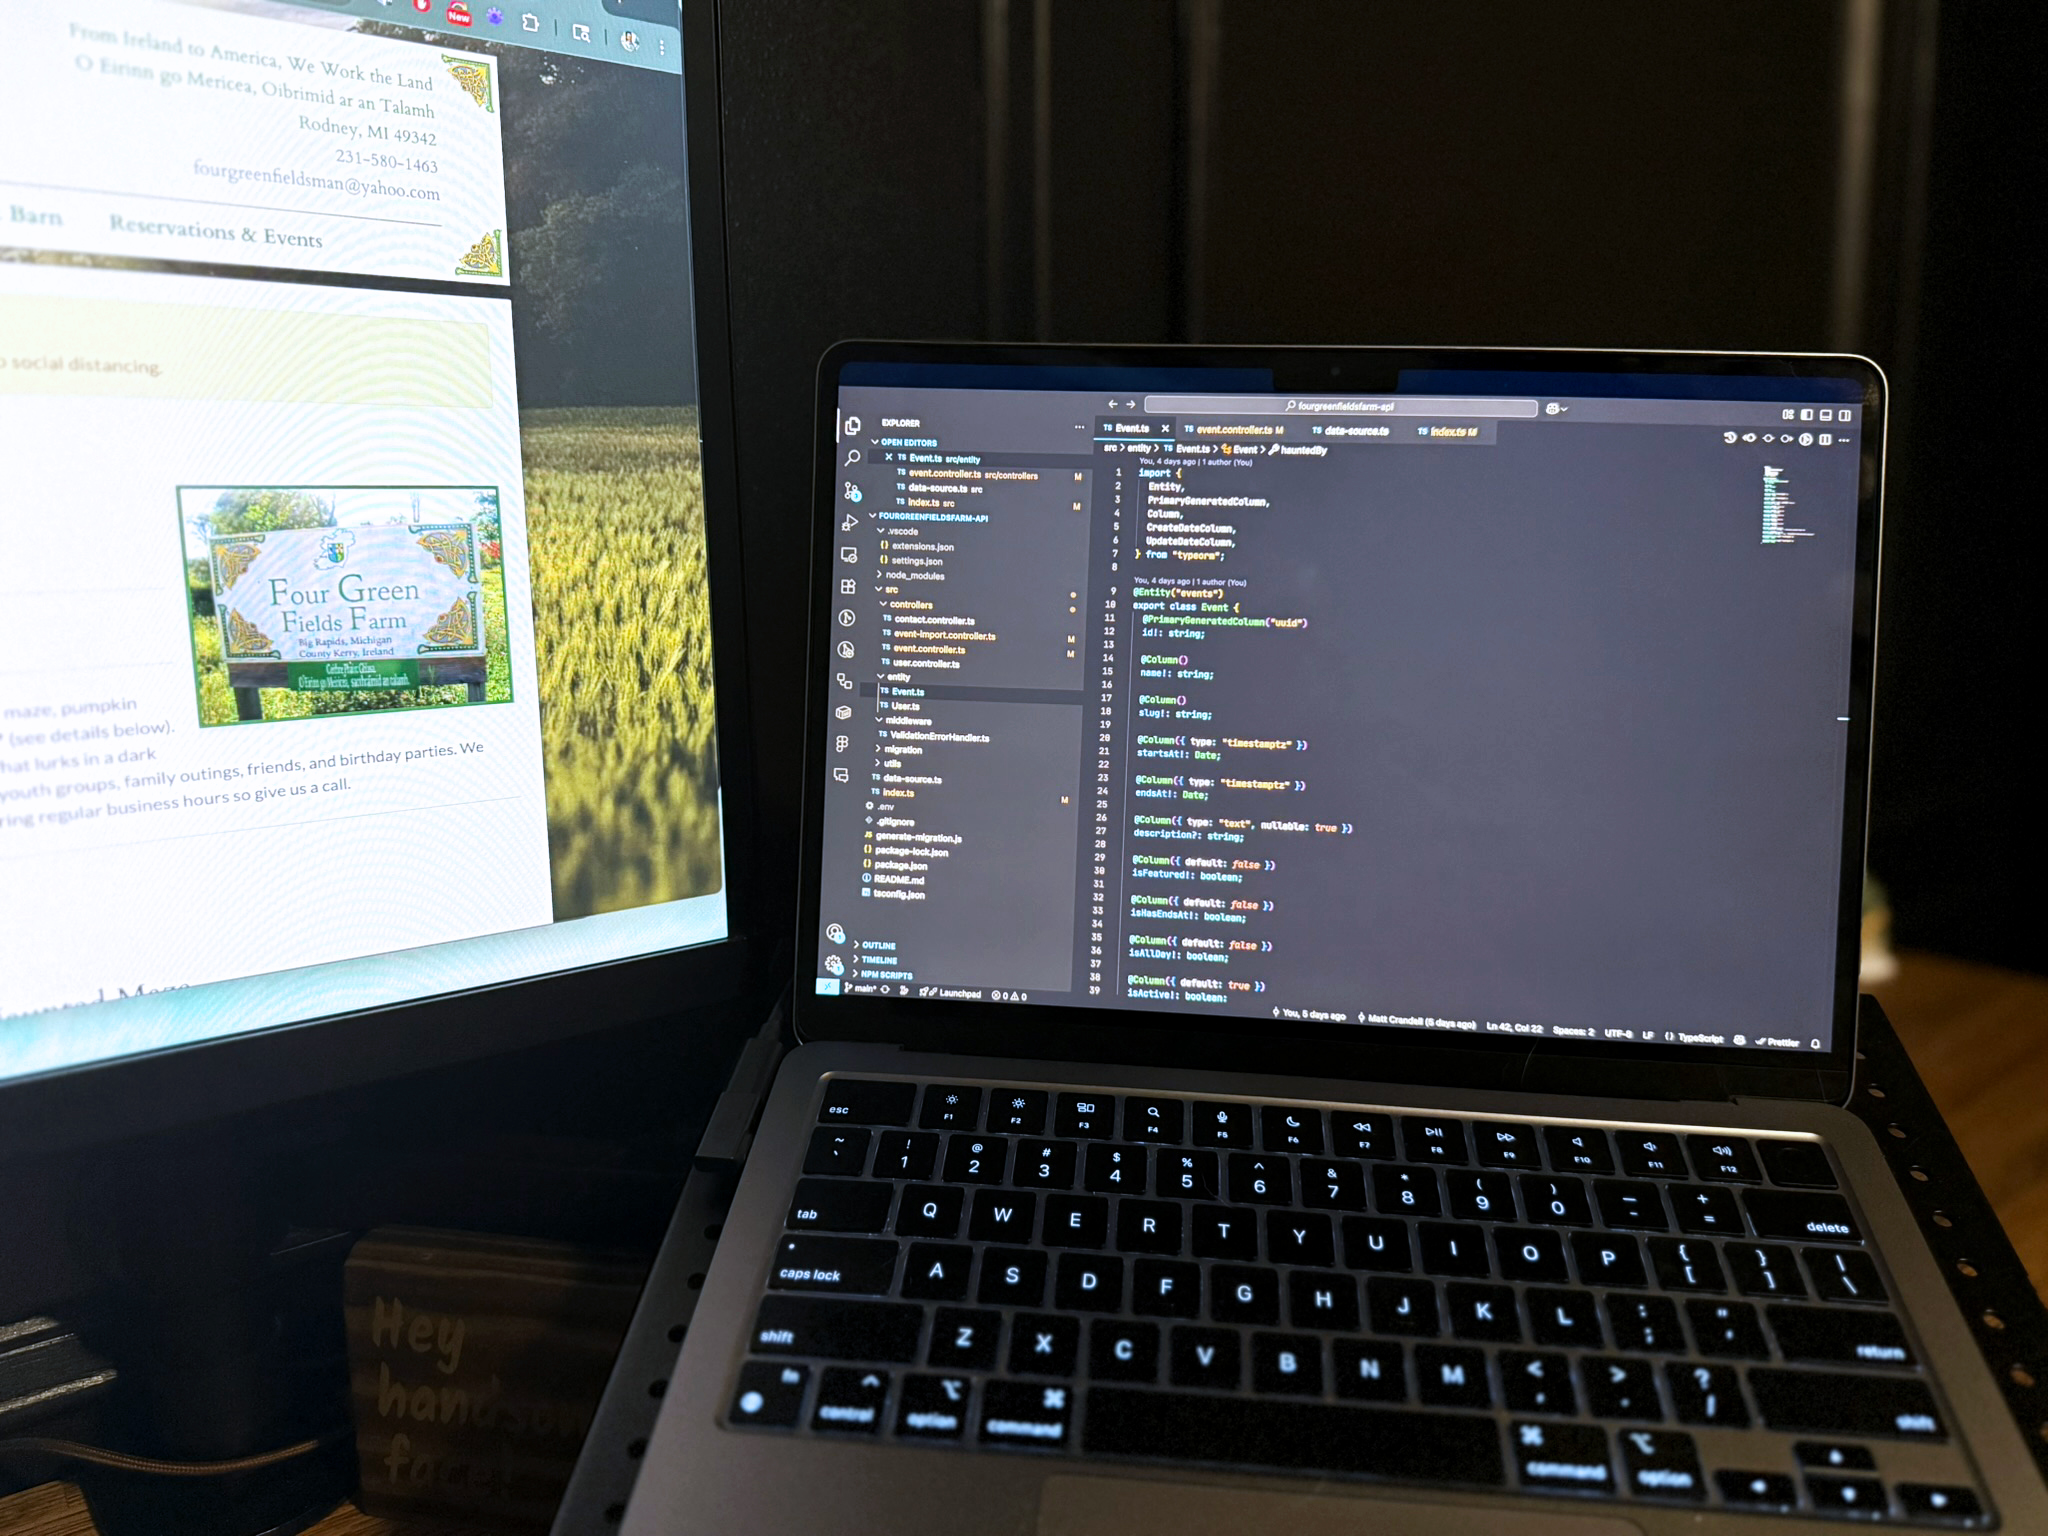
src/entity/Event.ts
Here’s what the Event entity looks like:
import {
  Entity,
  PrimaryGeneratedColumn,
  Column,
  CreateDateColumn,
  UpdateDateColumn,
} from "typeorm";

@Entity("events")
export class Event {
  @PrimaryGeneratedColumn("uuid")
  id!: string;

  @Column()
  name!: string;

  @Column()
  slug!: string;

  @Column({ type: "timestamptz" })
  startsAt!: Date;

  @Column({ type: "timestamptz" })
  endsAt!: Date;

  @Column({ type: "text", nullable: true })
  description?: string;

  // Any extra columns needed

  @Column({ nullable: true })
  recurringEventId?: string;

  @Column({ nullable: true })
  recurrenceRule?: string;

  @CreateDateColumn({ type: "timestamptz" })
  createdAt!: Date;

  @UpdateDateColumn({ type: "timestamptz" })
  updatedAt!: Date;
}
Key Fields:
startsAt,endsAt: Control the event's date and time range.recurringEventId,recurrenceRule: Enable recurring events using therrulelibrary for rules like "every Wednesday until December."
Using rrule for Recurring Events
To handle recurring events (like “Haunted Corn Maze every Friday in October”), I store:
- A
recurringEventIdto group instances of the same repeating event. - A
recurrenceRulestring that can be parsed by therrulelibrary to generate repeat dates.
In the controller, I can parse and expand these recurrence rules when displaying the calendar while still allowing individual instances to be edited or cancelled.
Next up: I’ll walk through building the EventController to handle CRUD operations, recurring event creation, and the CSV import endpoint for bulk event management.
Building the Event Controller
With the Event entity in place, I moved on to building the Event API using routing-controllers. This controller handles core event management:
- Fetching events with filtering and pagination
- Grouping events by day for calendar views
- Creating single and recurring events (a highly requested feature)
- Updating individual or grouped recurring events
Why routing-controllers?
Using routing-controllers keeps the project organized:
- Routes are decorated with
@Get,@Post, and@Put. - Request validation happens automatically using
class-validator. - Authentication is handled declaratively with
@Authorized. - Controllers stay clean and testable.
Key Endpoints
1. Fetching All Events
The GET /events endpoint returns all events, supporting:
startsAtandendsAtfiltering to fetch events in a date rangelimitandoffsetfor pagination
Example:
GET /api/events?startsAt=2025-10-01&endsAt=2025-10-31&limit=10&offset=0
The controller builds a query dynamically to support these filters, ensuring the frontend can easily fetch events for specific months or weeks for calendar rendering.
2. Grouping Events by Day
The GET /events/by-day endpoint fetches events and groups them by day with a readable label (e.g., “Saturday, October 25, 2025”).
This will be the main endpoint powering the Events page on the site. Getting it right mattered, as displaying events cleanly on a calendar has been one of the most challenging parts of the project in the past.
@Get("/by-day")
async getByDay(
  @QueryParams({ validate: true }) query: GroupedEventQueryParams
) {
  const repo = AppDataSource.getRepository(Event);

  const qb = repo
    .createQueryBuilder("event")
    .orderBy("event.startsAt", "ASC");

  if (query.startsAt) {
    qb.andWhere("event.startsAt >= :startsAt", {
      startsAt: parseISO(query.startsAt),
    });
  }
  if (query.endsAt) {
    qb.andWhere("event.endsAt <= :endsAt", {
      endsAt: parseISO(query.endsAt),
    });
  }

  const events = await qb.getMany();

  // Group events by day label (e.g., "Saturday, October 25, 2025")
  const grouped: Array<{ day: string; dayOfMonth: number; events: Event[] }> =
    [];
  const map = new Map<string, { dayOfMonth: number; events: Event[] }>();

  for (const event of events) {
    const dateObj =
      typeof event.startsAt === "string"
        ? parseISO(event.startsAt)
        : event.startsAt;
    const dayLabel = format(dateObj, "EEEE, MMMM d, yyyy");
    const dayOfMonth = dateObj.getDate();
    if (!map.has(dayLabel)) map.set(dayLabel, { dayOfMonth, events: [] });
    map.get(dayLabel)!.events.push(event);
  }

  for (const [day, { dayOfMonth, events }] of map.entries()) {
    grouped.push({ day, dayOfMonth, events });
  }

  // Optionally, sort by day
  grouped.sort((a, b) => {
    const aDate =
      typeof a.events[0].startsAt === "string"
        ? parseISO(a.events[0].startsAt)
        : a.events[0].startsAt;
    const bDate =
      typeof b.events[0].startsAt === "string"
        ? parseISO(b.events[0].startsAt)
        : b.events[0].startsAt;
    return aDate.getTime() - bDate.getTime();
  });

  return grouped;
}
3. Creating Single and Recurring Events
The POST /events endpoint allows creating:
- Single events with a straightforward start and end date.
- Recurring events using the
rrulelibrary.
How recurrence works:
- The frontend passes a
recurrenceRule(e.g.,FREQ=WEEKLY;BYDAY=WE;UNTIL=20251217). - The controller uses
rruleto generate repeat dates. - For each repeat, a new event is created with the same metadata but different dates.
- A
recurringEventIdis generated to group these events for future batch edits.
This design allows managing both individual events and repeat series with minimal additional logic.
4. Updating Events
The PUT /events/:id endpoint supports:
- Updating a single event (
scope: "single", the default). - Updating future events in a recurring series (
scope: "future"). - Updating all events in a series (
scope: "all").
This is handled by:
- Checking if the event has a
recurringEventId. - Fetching related events based on the selected
scope. - Applying updates to the filtered list of events.
This enables workflows like:
- "Update this single event only."
- "Change the start time for all future Pumpkin Festival dates."
- "Cancel all Haunted Corn Maze events this season."
Why This Approach Works
This structure allows the Four Green Fields Farm website to manage seasonal event-heavy calendars efficiently:
- Staff can add one-off or recurring events easily.
- Future updates to recurring series are flexible.
- Frontend calendar views can fetch, group, and display data cleanly.
By focusing on these core CRUD and recurrence features, the backend becomes reliable, scalable, and easy to extend as new needs arise.
Creating the User Entity and JWT Authentication
To secure event management, I added user authentication using JWT. This allows only authorized users to add or edit events, ensuring seasonal schedules are protected.
User Entity
I created a simple User entity with:
* `id` (UUID)
* `email` (or username)
* `password` (hashed using `argon2`)
This keeps user data minimal and secure while enabling authentication.
JWT Authentication
I chose JWT because it’s stateless and works cleanly with frontend frameworks like Nuxt. The flow:
- A user logs in with email and password.
- If credentials are valid, the server issues a JWT.
- The frontend stores this JWT (usually in localStorage) and includes it in the
Authorizationheader on API calls. - Protected routes verify this token to grant or deny access.
Auth Routes
I added a POST /auth/login route that accepts email and password, checks the user’s credentials using argon2.verify, and returns a signed JWT if valid.
Protecting Routes with @Authorized()
To protect sensitive routes like POST /events or PUT /events/:id, I use @Authorized() from routing-controllers. This decorator checks if a valid JWT is included in the request headers before allowing access.
My authorizationChecker parses the Authorization header, verifies the JWT using jwt.verify, and attaches the user payload to request.user if valid, providing secure, consistent access control across the API.
Testing the Auth Flow
To test:
- Use Postman or Hoppscotch to log in and obtain a JWT.
- Add the JWT to your headers as
Authorization: Bearer <token>. - Make a request to a protected route and confirm it succeeds.
- Try the same request without a token and confirm it is rejected.
Wrapping Up Part 1
At this point, the backend is fully capable of managing events, supporting recurring events, and protecting endpoints with JWT authentication. This sets up the Four Green Fields Farm website for an organized, secure event management system, ready to integrate seamlessly with a Nuxt frontend.
If you want to peek under the hood or use this as a starting point for your own seasonal event-heavy site, you can check out the full code here: